

Flutter is an open-source mobile application development framework created by Google. It is rapidly becoming popular among developers due to its ease of use, flexibility, and powerful features. In this beginner's guide, we will go over the steps to get started with Flutter.
Prerequisites
To get started with Flutter development, you will need the following:
A computer running Windows, macOS, or Linux
An Android/iOS mobile device or emulator
A code editor (e.g. Visual Studio Code, Android Studio)
Programming Language Used:
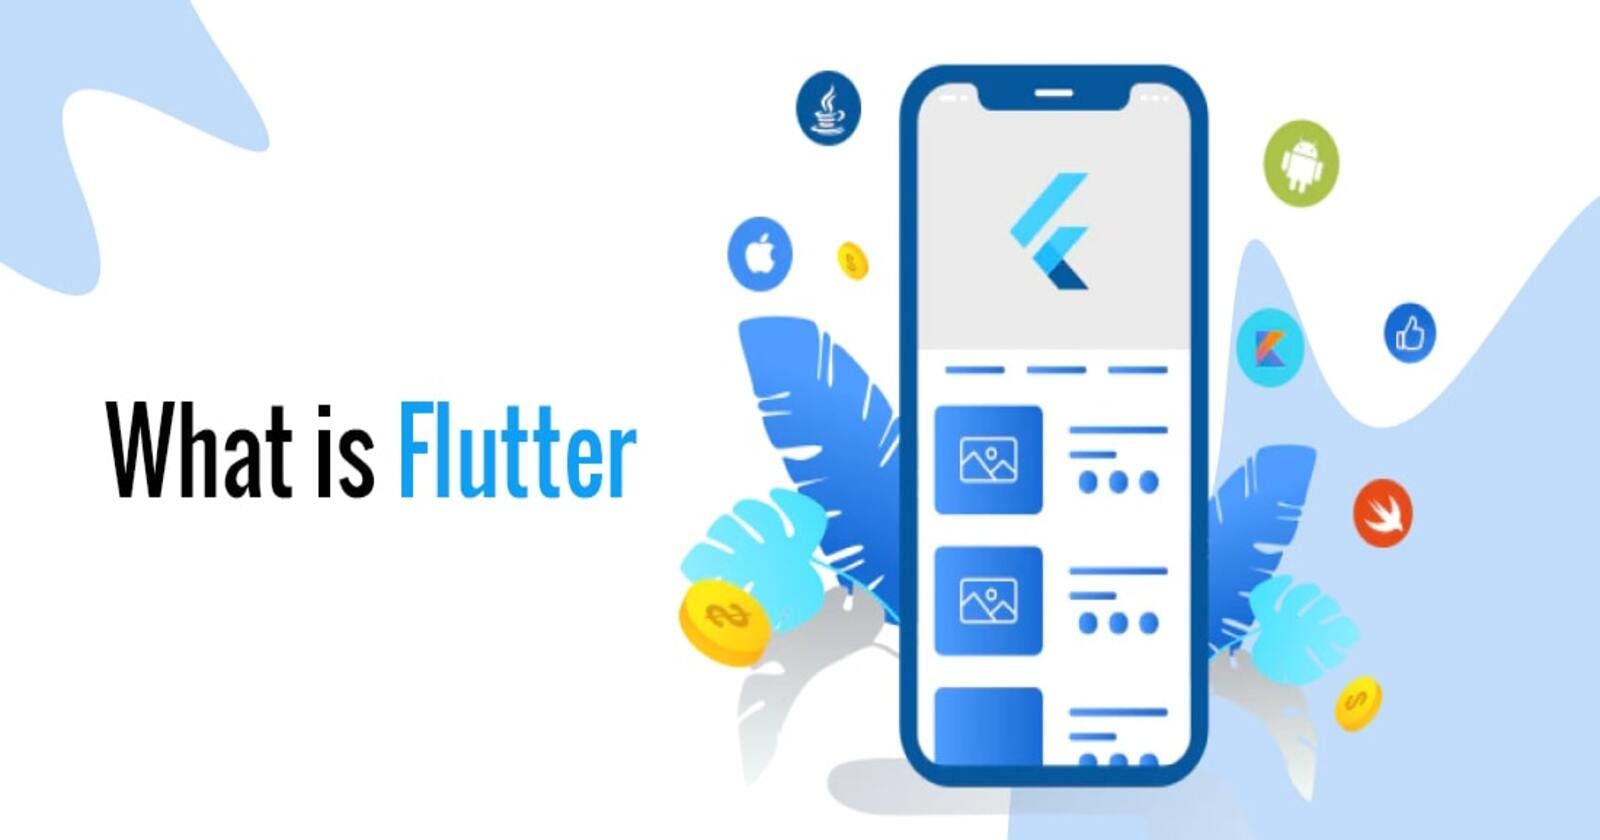
The Programming Language used in Flutter is Dart. Flutter is a cross-platform framework that is commonly used to develop Android and iOS apps.
The Dart language is optimized to be able to develop UI quickly and productively across multiple platforms. It was first launched by Google in October 2011. Three years later, Dart v 1.0 was launched in November 2013.
Compared to Java and C++, Dart may not be so popular. However, the popularity of darts is increasing along with Flutter’s popularity among mobile app developers.
Step 1: Installing Flutter
The first step is to download and install Flutter. You can download it from the official Flutter website or through your code editor (e.g. Visual Studio Code).
Click Here To Download Flutter
Once you have downloaded Flutter, extract it to your preferred location. Then, add the Flutter directory to your system's path.
Now, run the following command in your terminal to verify that Flutter is installed properly:
flutter doctor
This will verify if Flutter is installed correctly on your system or if any additional setup is necessary.
Click Here To Resolve Errors During the Installation
Step 2: Creating a New Project
The next step is to create a new Flutter project. Open your command line interface and run the following command:
flutter create my_app
This will create a new Flutter project with the name my_app.
Another way of creating a flutter project Manually is through Visual Studio Code or Android Studio
Step 4: Editing the Code
Now that your app is running, you can edit the code using your preferred code editor. The main file in a Flutter project is usually main.dart and you can get this file under the libs Folder in that project.
Here is some sample code to get you started:
import 'package:flutter/material.dart';

void main() => runApp(MyApp());

class MyApp extends StatelessWidget {
  @override
  Widget build(BuildContext context) {
    return MaterialApp(
      title: 'My App',
      home: Scaffold(
        appBar: AppBar(
          title: Text('Welcome to Flutter'),
        ),
        body: Center(
          child: Text('Hello World'),
        ),
      ),
    );
  }
}
This code creates a simple "Hello World" app with an AppBar and Centered Text widget.
Conclusion
That's it! You have successfully created a simple Flutter app. This is just the beginning of your Flutter journey. There are more advanced topics such as state management, widgets, animations, and more to explore. With Flutter's ease of use and powerful features, you can quickly create beautiful and functional mobile apps. Happy coding :)